Friday 6 May 2016

Soup Again... Green Radish, Carrot, Pork Ribs Soup


My boy has been sick for almost a week. His appetite is not good and all he wants is soup, more soup... Few days back, he was so weak that he could not even walk straight. My soups are simple but my boy said, "Mummy makes the sweetest soup!" I usually cook soup with root vegetables and pork ribs. I don't use chicken as chicken tend to give phelgm, so it is not good for my boy who has allergies and very sensitive airway. I use the thermal pot & I really like it. I can go out once the soup is done and put into the thermal pot. There is no need to watch fire and worry the soup will dry up. It keeps the soup hot. And the meat is very tender due to being braised slowly. My pot capacity is 5 litres, so minus my generous ingredients of about 2 litres, the soup is probably 3 litres. Yesterday, my boy alone finished the 3 litres of soup for lunch & dinner!
Sharing this post with my dear friend whose daughter loves soup too.

                                                                Pic: After blanching

The key ingredient is the pork ribs. This is a must for me, to buy fresh & good quality pork ribs from a reliable pork seller in the wet market. Tell him you want to buy "排骨" for soup, the soft and tender cut. I usually have to pay close to $30 for 3 packets of 500g each.
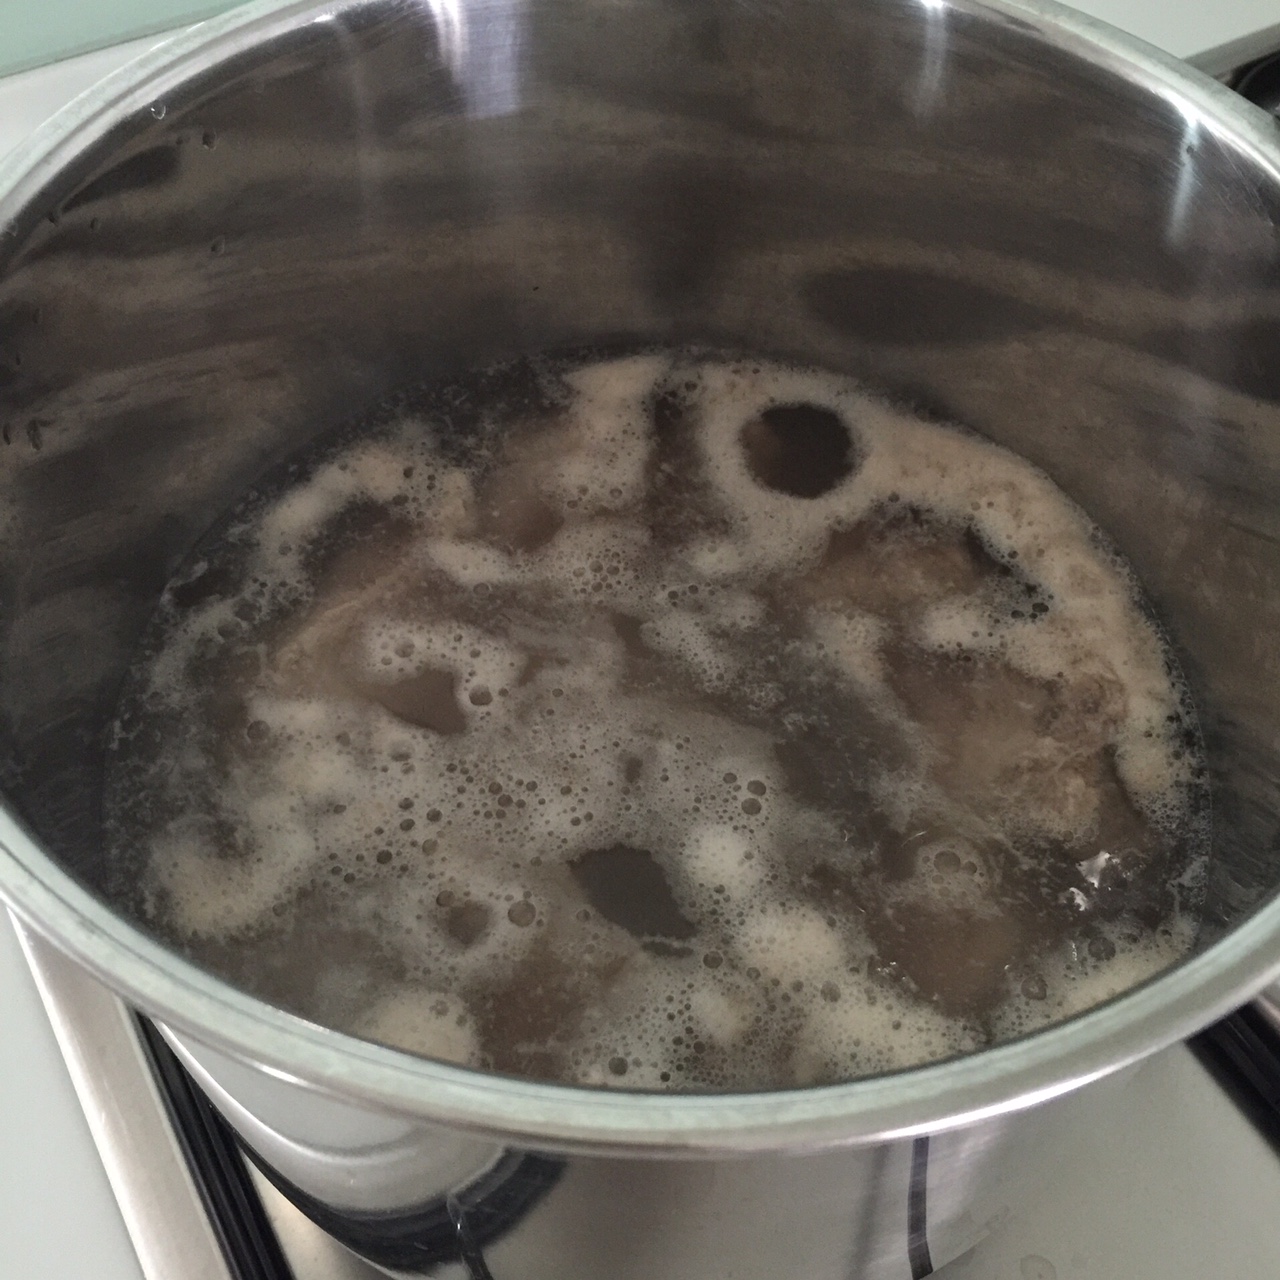
Next important step is to wash the pork clean and blanch it. Remove any unwanted visible fats with a kitchen scissors, then wash and rid any 碎骨头.
Cover the pork with water and boil over medium fire. Once boil, off fire. Don't over boiled else the pork will lose its sweetness. Remove the pork ribs. Pour away the water, wash the pot and fill it with clean filtered water.

Green Radish, Carrot, Pork Ribs Soup
Ingredients:
- Pork ribs prime cut 500g
- Green Radish 1
- Carrot 1
- Corn bi-colour 1
- Red dates 5 to 6 (Big ones, they are really sweet & fragrant)
- Dried fig 2 to 3
- Dried scallop 5 (Japanese medium size)
- Honey date 1 (can omit)
- Wolfberries about 10 (to be added when soup is ready)
Buy the organic wolfberries, they are sweet & plump after cooking. The "not too good" ones are drier & sour.
- Sea salt (amount according to personal preference)

Method:
1) Wash and blanch pork ribs.
2) Cut green radish, carrot & corn
3) Fill pot with water to about 2/3 full. Depending also on your pot capacity and amount of ingredients.
4) Add all ingredients, except wolfberries & sea salt, to the pot.
5) Boil on high fire. When soup boils, lower to medium-low fire and boil for an hour.
6) Off fire, put inner pot into thermal pot.
7) Leave in thermal pot for at least 4 hours or as long as you want.
8) Before serving, put pot on stove, bring to boil, add salt & wolfberries. Off fire.
9) Serve, or put inner pot back into thermal pot to keep warm.

Thursday 5 May 2016

茄汁哈哈虾球 (Tomato Prawns)

My son loves to eat seafood. He has food allergies but thank God he is not allergic to seafood. I usually buy prawns from the wet market. They are fresh and reasonably priced (except CNY period). If you choose a prawn dish from the zi char stall or a restaurant, it is usually costly with "limited" numbers of prawns. This is one of my son's favourite dish - Tomato Prawns. 茄汁哈哈虾球, 儿子吃了笑哈哈!

Tomato Prawns
Ingredients:
- 10 to 12 prawns
- 1 big white onion
- 1 yellow and/or red, green capsicum
- 1 tomato
- Chopped garlic (I do not add as my son is sensitive to garlic taste.)

Sauce:
- Tomato sauce 2 tbsp
- Raw sugar 1 tbsp
- Olive oil 1 tsp
- Sea salt a pinch
- Pepper a dash
(Mix all together & set aside)

Method:
1) Deshelled the prawns, make a cut but do not cut it completely, remove the intestine.
2) Boil for 1 minute, drain.
3) Cut tomato, capsicum and onion into thin wedges.
4) Heat up wok & oil. Lightly browned the garlic.
5) Stir fry the capsicum, onion, tomato(added last) till softness according to own liking. If too dry, add a bit of water.
6) Pour sauce, bring to boil, add a bit of corn starch water to thicken the sauce.
7) Put in prawns, quick stir. Once prawns are cooked, off fire. Do not overcook the prawns.

Tip:
To get crunchy prawns, rub it with a little salt, leave it for 2 to 3 minutes, rinse it off with cold tap water.

Japanese Teriyaki Chicken Rice

This easy to prepare dish is a hit with my kids. Thanks to my dearest friend who came to my rescue when I told her one late night that I have ran out of idea what to prepare for my kids' lunch. My kids never like porridge, kway teow, macaroni soup kind of food. Tata! She sent me a video clip. With the right recipe and method, the chicken is so tender and juicy. Top it on a bowl of hot rice, this is simply delicious!
Japanese Teriyaki Chicken Rice
(Recipe adapted from C Channel Teriyaki Chicken With Egg Bowl facebook video clip)
Ingredients:
- 3 debone chicken thighs
- Sea salt a pinch
- Pepper a dash
- Plain flour 1 tsp
- Cooking oil 1 tbsp
- Sake (I use Hua Diao/Shao Xing Jiu) 1 tbsp
*- Soya Sauce 2 tbsp
*-Sugar 1/2 tbsp
*-Mirin 1 tbsp
*(The recipe uses almost double of what I have stated for the last 3 ingredients, but I personally prefer lesser sauce, less salty. You can also replace these ingredients with Kikoman Grill Japanese Teriyaki Sauce.)

Toppings:
- Soft boiled egg
- Japanese mayo
- Dried shredded seaweed
- Sesame seeds (if you like)

Method:
1) Cut chicken into approx 3cm cubes.
2) Seasoned with salt & pepper.
3) Coat chicken with 1 tsp of plain flour before cooking.
4) Heat up pan & oil.
5) On medium fire, add chicken, stir then spread them out on the pan, turn it to ensure both sides are browned.
Note: Chicken need not be fully cooked at this stage.
6) Add wine, cover the pan, steam the chicken for about 3mins.
7) Use a paper towel to dry up the excess oil.
8) Add soya sauce, sugar & mirin. Stir fry to ensure the chicken is evenly coated and cooked.
9) Just before chicken is ready, up the fire to thicken the sauce. Quick stir & off fire.
10) Serve it with a bowl of hot Japanese rice. Top with mayo, seaweed, sesame & a soft boiled egg.

The total cooking process exclude preparation should not exceed 10 mins else the chicken might be overcooked. It does depend on your chicken quantity, the type of pan used & your stove fire.